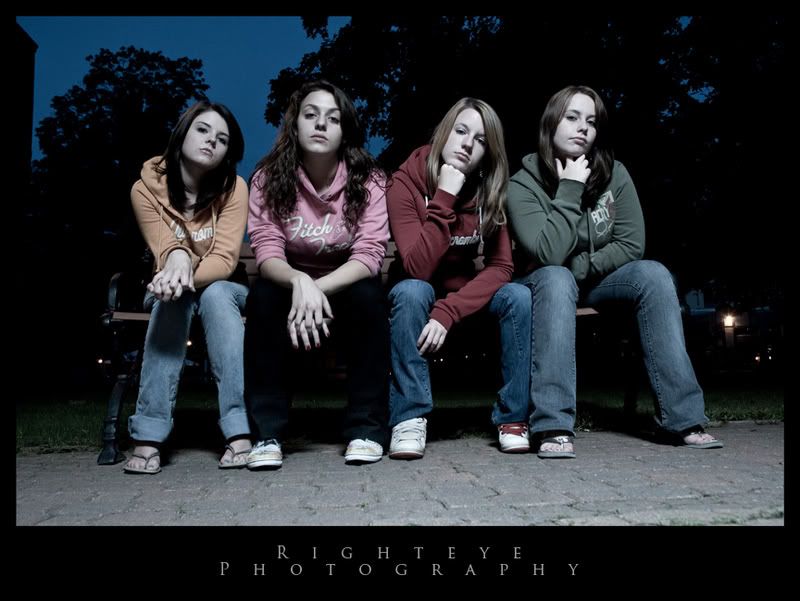
This is just a quick post on how to create a nice clean border quickly.
I applied this to a high res, full frame image from my d300, just to give you some sizing background.
I used image-canvas size and entered .3 in the height and width box. I had clicked on the relative box before (this just means that you can punch in a number and that will be the size the canvas is extended) and chose white for color. I now have a .15 white border all around my image. I hit ok and then opened it up again. This time i entered .1 in the two boxes and chose black for the color.

For this image i used canvas size once again but this time i clicked on the center bottom arrow in the canvas size dialogue box. This means that only the top and two sides will be extended, not the bottom. I entered .3 for the height and .6 for the width. I chose black for color. I then opened it up again and clicked on the center top arrow. I entered 1.5 in the height box and left the width empty. I now have a .3 border on the top and two sides and a 1.5 border on the bottom. I used my text tool , lowered the opacity of the text layer a bit so it blends in and was done.
If you do this often i would suggest creating an action, then you just have to hit a button.
I did the wonky color on purpose here by the way.
Just trying something different.
No comments:
Post a Comment